
Tiny Hands and Succulents
/Planting season is here! Well, I'm probably a bit late to the party to be honest, but that's where my lack of gardening knowledge shows. Lately, I have been loving going to the nursery. Sometimes I go by myself, sometimes I bring the kids, and sometimes the whole family goes. I love the nursery because you are outdoors, surrounded by beautiful plants and flowers and most importantly you have access to knowledge through the staff!

Recently, we went and visited West Coast Gardens in Surrey a one stop shop for all things gardening, plants, flowers, vegetables, landscaping and home decor. We met with one of their designers, Julie, to help us create our own succulent planters at home. I love succulents. I love their colours, quirky shapes and the fact that they take little water to grow!
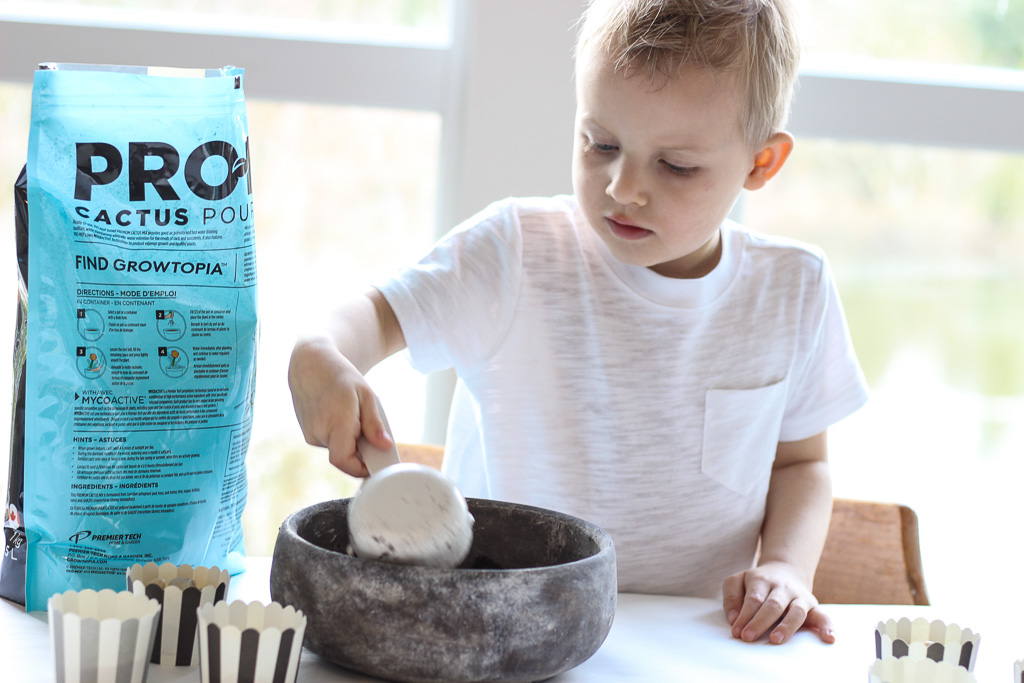
Right now I have the privilege of being home with my kids so I love inviting them to join me on special projects. Jake was thrilled to make his own succulent and join in on the fun. Here is a peak inside our day of planting!
It is so important to have good soil for your succulent planters. We used the Pro Mix Premium Cactus Mix as our base. Our friend Julie at West Coast Gardens shared with us she actually puts a bit of charcoal in the bottom of her planters to absorb excess water.


Succulents have so many fun nicknames - Crocodile plant, snake plant, Donkey's Tail, one plant looks like Big Hero! Jake loves crocodiles so naturally he had to include one in his planter.
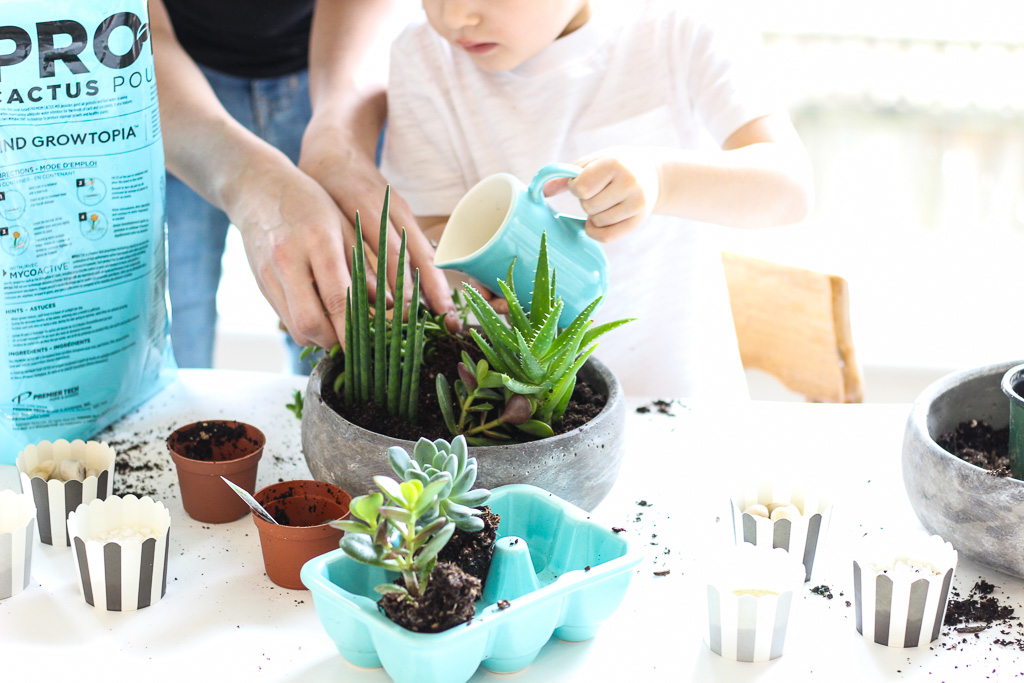
After adding some of Jake's favourite succulents, he gave the plants a drink of water. You don't want to pour water directly on the leaves so he was careful to pour around.

**Pro-Tip** At the end, use a dry paintbrush and stroke the leaves to remove bits of dirt and rocks on the leaves. Thanks Julie ;)

The last and final step for our planters was to add the sand, gravel and rocks. I think these last three layers gave the planters a polished and professional look. Jake loved sprinkling the sand, adding the gravel and finally placing a few special rocks to finish his planter. Honestly as his mom, I was so impressed with his creation and Jake was so proud of his planter! He needed help taking the succulents out of the containers, but other than that he literally did everything else himself.


Sometimes as moms, it is nice to take some time in the afternoon to get creative and exercise a different part of your brain for a few minutes. Lauren created her own planter using some of her favourite succulents such as 'String of Pearls' and 'Haworthia' . It is easy to customize your succulent planter by either using different plants, adding coloured sand or gravel to give it a pop of colour, or choosing a unique vessel like a cement planter we used or something non-traditional like a shell, old pallet or a cement block. West Coast Gardens had so many different vessels to choose from including: rustic, modern, terrariums, glass, and cement options.


** Pro-Tip** The unique vessel I chose to create my planter allowed me to add some succulents with a bit of height. However because of the tall glass vessel it was difficult to water the planter at the end without getting the leaves wet. Use a turkey baster to strategically place water in your planter without getting it on your plants.

When I invite my kids to join me in planting, it does get messy. But messy sometimes is magical. I just put a big sheet of white paper down before we started and at the end, Jake had one of his favourite toys to play with - a dirt pile!
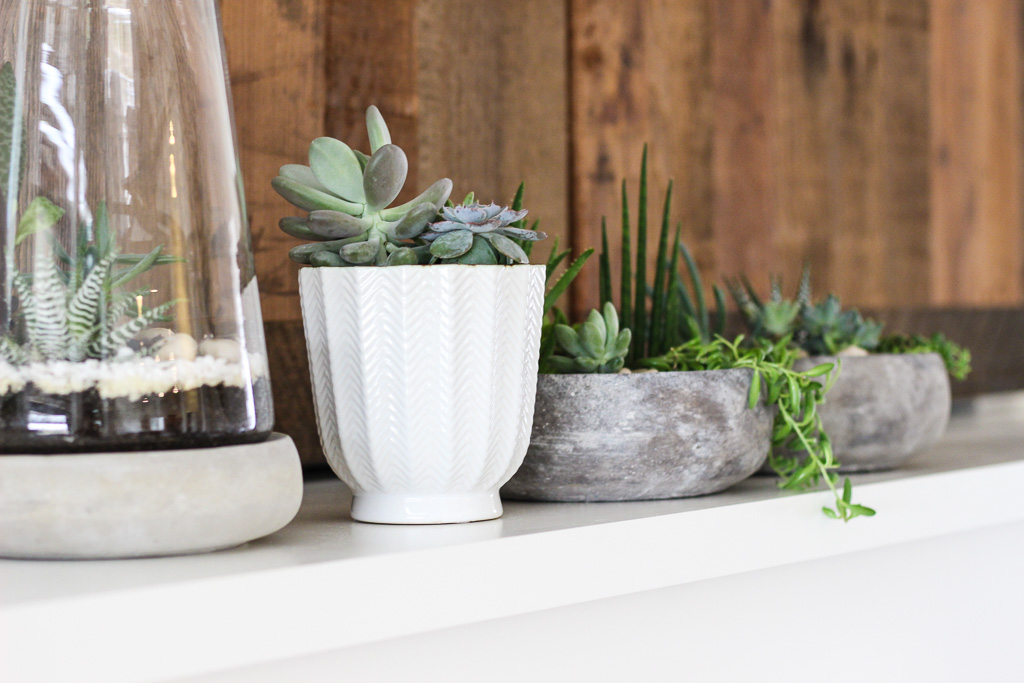

Look at how stunning these are! I love how they turned out and I now have a pop of fresh greenery in my house all the time! These planters are so easy to make and West Coast Gardens has everything you need to create your own!